Kitchen Flooring - Cork Floor Facts
The facts about Kitchen flooring and cork flooring
It has been said that cork flooring is not appropriate for kitchen flooring, but this is not true. Although there are some basic guidelines to follow, both floating cork flooring as well as glue-down cork tiles are both excellent choices for a kitchen flooring installation. Both types of installation have their advantages, the problem is choosing which one suits your project needs.
The advantages of cork floating floor in a kitchen
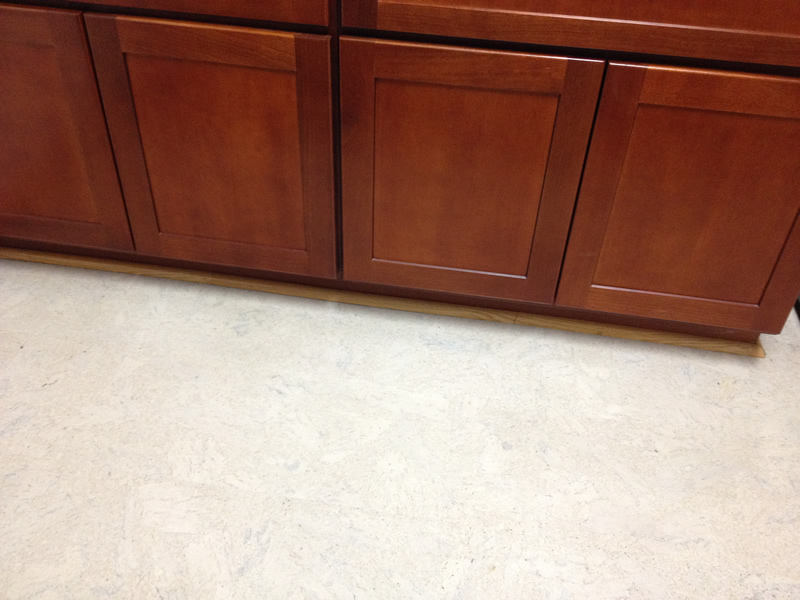
#1: Never install a floating floor product under cabinets.
Advantage: This not only saves money on square footage, it saves time and hassle. Cabinets and fixtures can be assembled, installed and finished without worring about the new floor. In fact the entire project can be completed and the flooring installed last making new build or renos easy.
#2: A cork floating floor that can be sealed must be used in kitchens and entrance ways. This usually involves a low cost polyurethane finish which can be easily aquired at time of purchase. Unlike many new high-wear finishes like ceramic bead, aluminum oxide, oil or wax finishes which can never be “sealed".
Advantage: Using a polyurethane or like finish on cork floating floor allows for an affordable way to protect your new floor. This does require periodic refinishing throughout the lifetime of the floor giving the unique advantage of refreshing it's original beauty. Compared to Aluminum Oxide and ceramic floors which may not wear through but they can never so easily enjoy the benefits of a “sprucing up”. Also for a few cents/sqft a cork floating floor can be site finished for a water resistant surface that sets it apart from its' competitiors like laminate or engineered flooring. This will protect your new cork kitchen flooring from the everyday happenings like spills and drips that are more than adequately handled with this easy site finishing step.
#3: Moisture barriers or vapour retardant products can vary dependant on substrate but should always be used in a kitchen when installing a floating floor.
Advantage: This vapour barrier/retardant is a standing layer of protection between the structural “substrate” of the kitchen flooring and the finished floor. This can preventing water from reaching the substrate of the floor leaving it undamaged if plumbing problems or large leaks reach beyond the surface flooring product. A simple layer of 6mil polyethylene sheeting which starts at $0.11/sqft is all it takes to prevent thousands of dollars in repairs.
#4: Cork underlayment should be added inbetween the poly sheeting and the cork floating floor in kitchens.
Advantage: Even a thin layer of cork underlay (3mm or 6mm) can add lift which can prevent damage to the floating floor should a plumbing disaster occur. Clients have reported their story of plumbing problems and how the poly sheeting protecting the substrate and the cork underlay saving the cork floating floor. Only the cork underlay had to be replaced in the end diverting disaster to minimal replacement and repair. The cost of Forna’s 3mm underlay ($0.33/sqft)together with poly sheeting is $0.45/sf, an affordable insurance to protect the integrity of the flooring and kitchen's structure can remain safe and dry.
Advantage: Cork underlay is a solid yet “soft” form of underlayment that will add cushion as well as act as a “lift”. Cork floors are often installed up against other existing floors like solid hardwood or tile. These types of floors can be upto ¾ inch thick leaving a small floor height difference that many people find concerning. Forna’s cork underlayment comes in 3mm (1/8 inch) or 6mm (1/4 inch) which is often more than enough of a lift to match in both height and appearance for any cork flooring.
Advantage: Not only is cork underlayment significantly cheaper to purchase, it is much easier to install then hard flooring underlay such as OSB board or plywood. The underlay is “floated” which means it is not attached to the subfloor. It therefore easily installed with an extra 5 minutes to “loose lay” before the cork planks are installed over top. No comparison to the time required to install 1/4 inch flooring-grade plywood.
Decision: Cork floating flooring, when installed correctly following simple recommendations, is a great optional product for kitchen installation.
Glue down cork tiles in a kitchen
#1: There can be no remenants of old flooring, adhesive, wax, paint etc on the work surface when applying glue down cork flooring. The subfloor material required for installing Forna glue down tiles must be cement board or flooring-grade, smooth-side up plywood (untreated) for best results.
Advantage: Cork tiles are low profile and available in thicknesses such as 4mm (1/8”) or 6mm (1/4”) making transitions to other low profile flooring easier.
Advantage: There is no other form of “soft underlay” that can be used – even a cork underlay is not allowed as it does not carry the same internal structure required for flooring saving extra cost on product.
Advantage: The water based adhesives required for installation need a perfect or near-perfect surface for optimal results. A flat, even, smooth surface is the best starting point for any project. Today’s water based adhesives allow for safe and easy use needing only a standard dust mask, without worry of fumes during installation.
#2: Forna glue-down cork tiles require a site finish of 3 coats of Loba WS 2K polyurethane 24 hours after installation.
Advantage: Even though Forna cork tiles are water proof on their own, adding three more coats allows the joints or seams to also be water proof rather than water resistant. This makes the finished floor comparable to ceramic, porcelain, vinyl, linoleum, and others in this class for moisture/water protection.
Advantage: Glue down cork tiles, when cared for properly, make a permanent, long lasting floor. Cork floors have the potential to outlast owners and remain intact more than a century later in some buildings in Europe as well as in the USA.
#3: When installing cork tiles wall-to-wall, a 1/4" inch expansion gap must be left around all fixtures (walls, cabinets, ect) and the floor must be fully sealed prior to the installation of cabinetry or fixtures.
Advantage: Once the floor is sealed it will remain well situated and water proof throughout the remainder of the renovations. Note: An easy suggestion is to add a coat of product each evening prior to bed allowing the floor to be in use during the curing period (stocking feet only, no pets until full cure time completed).
Advantage: The 1/4" gap should be left if installing around existing cabinets. This can greatly reduces the amount of product and time needed to comlete the job, saving money on initial product purchase and labour cost/time.
As with anything, a few disadvantages do exist:
Disadvantage #1: Any space or flooring surface not covered by cork will not be water proof, or possibley not even water resistant. Any plumbing or water issues could cause damage to the entire subfloor and the substrate. The damaged subfloor has to be removed including any the cork on top to investigate the extent of damage requiring purchase and installation of new flooring.
Disadvantage #2: Glue-down tiles are very time consuming to install. You must included time to prepare the subfloor, install the tiles, allow the adhesive to cure, apply 3 coats of water based polyurethane which requires a second cure time of 7 days. This can all add up to 15 – 20 days in total. It is recommended that no construction work be allowed in the space during this time until final curing time is complete. This could cause costly delays in production time on a build site.
Disadvantage #3: Protective cardboard such as “Ram Board” must be used at all times during the installation period. If hiring a handyman or contractor the floors should be inspected by the home owner or head contractor every day to ensure no damage has occured due to the various trades in and out.
Decision #1: Cork glue down tiles can be installed wall-to-wall wherever they are required. They can be installed around or after cabinets and fixtures with a few simple rules to ensure the best, long term results.
Kitchen flooring with cork required a coating of water based polyurethane to sealed. A gallon of loba can cover 600sf. A quart of loba = 1/4 gallon = 150sf of coverage. You kitchen flooring will need to finish your entire kitchen with 3 coats. If you wish to coordinate the gloss level of the kitchen flooring, we have a polywhy, it will do it. Please be aware that there will be a NOTICEABLE difference in shine between the “satin” finished kitchen flooring and if you use different of polyuretahne. This is why I suggent you use all the “matte” finish. We know that the matte will offer a close to “perfect” match between coated floor and factory finish. This means the if you wanted to apply the finish ONLY to the kitchen flooring and leave the rest of the “room” unfinished, you could do so without any change in appearance. If you have a great room and you have only part of it finished in the higher gloss finish and the rest unfinished, you are going to find that the “line” in the middle of the room to be quite distracting. A “matte” finished floor would not have this issue. Please let us know if you want to finish ALL the kitchen flooring or not. If you wish to finish all the kitchen floor in the higher gloss, you will send your a quoatio.
How to Order
- Ordering Free Sample
- Ordering by Email
- Order Online
Shipping Info
- Pick-up Locations
Contact Info
Tel: 1-604-207-0661
Tel: 1-604-207-9541
Toll Free:
1-877-998-1198
1-866-998-1198
Fax: 1-866-373-6520
Showroom and Warehouse Address:
Cancork Floor INC
#185-1991 Savage Rd.
Richmond BC, V6V 0A4
Canada
About Cork
- Cork Floor Case Study
- Additional Inforemation
Categories
Helpful Links
- Installation
- Measurements and Maintenance
Information
- Info
- Product Information